Skip to main content
Search
Search This Blog
Maxam Made
Prv 14:1 Every wise woman buildeth her house. Sharing Creativity and Blessing.
Posts
Showing posts from May, 2017
Show all
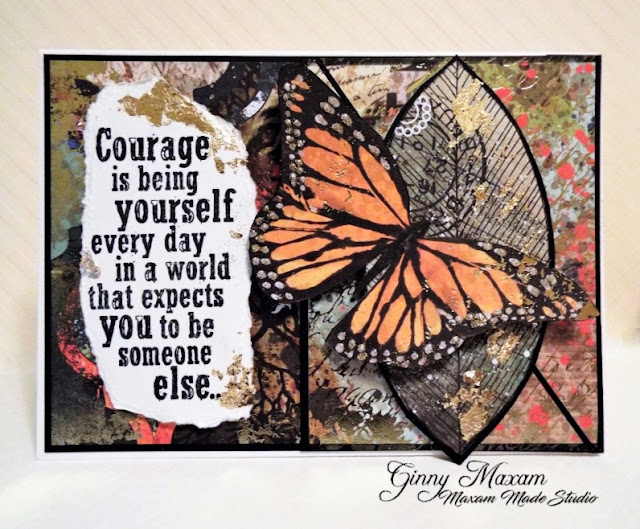
May 31, 2017
Sketch Challenge and a freebie
May 30, 2017
How to Season a new Granite Mortar and Pestle.
May 27, 2017
Honoring our men in women you have and are serving in the US Military Branches
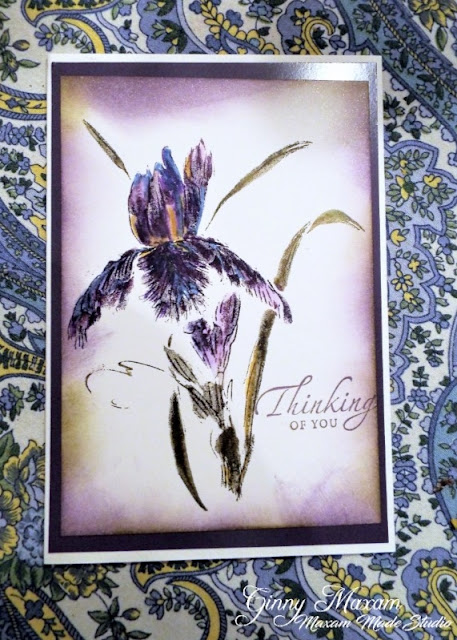
May 26, 2017
How to make a beautiful and simple journal with a free gift!
May 24, 2017
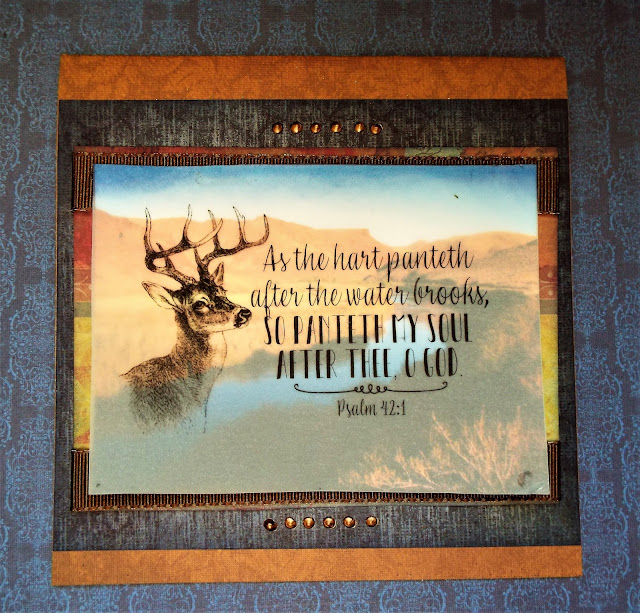
Word Art Wedsday digital stamps vellum printing and freebies
May 23, 2017
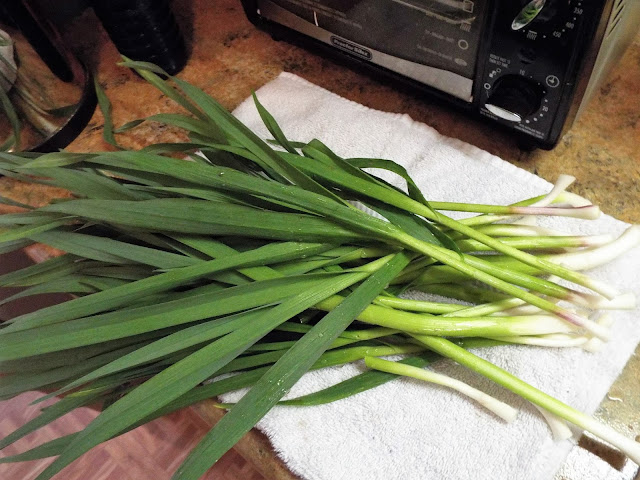
Wild onions and a much better way, a challenge and a freebie
May 19, 2017
Special Event Sale at Graciellie Designs This Weekend!
May 17, 2017
Alcohol Markers on Cryogen Paper
May 17, 2017
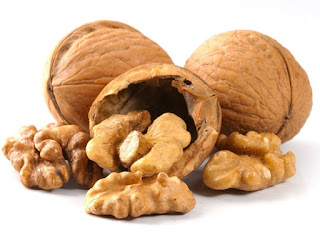
How to get the best flavor and nutrition from walnuts
Newer Posts
Older Posts
Home