Wednesday, December 30, 2015

Word Art Wednesday and the last Challenge for 2016!

Happy Holidays Everyone!!  I'm sure you all are as busy As I am, can you believe the new year is two days away??  Since the only thing I did for Christmas cards this year was get my paper cut, I have a jump on next year's' Christmas Cards, my paper is cut!!  

I hope you enjoyed all the wonderful Challenges at Word Art Wednesday, I know I did and I look forward to the beautiful new devotions and Scripture verses coming our way for 2016!!
 One big change; we will have two challenges a month in 2016 instead of four.  We really have a heart here at WAW to get the word out and be a blessing to you, having a slightly lighter load will help the team and give you more time to enter the challenges - it is a win - win!!

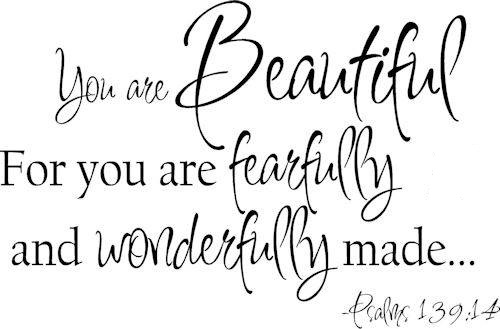
This week our verse is from Karen Murray and Psalm 139:14


I love this image, I think this young woman just radiates beauty!!  I really struggled with getting her skin tones close to right.  My card was attempt #5.  I am happy with how it came out!!  I did this on watercolor paper.  I tried chalks, watercolor markers and ended up using  alcohol markers and lots of blending solution!!  Her headdress is a tiny bit dimensional,  I was looking for a more realistic look.


I hope you are able to enter this's week's Challenge, there are wonderful prizes and if you mail your card, you will make someone very happy!!
Thank you for stopping by,
Ginny M

Tuesday, December 29, 2015

Old stand by Technique

Today I'm showing you an oldie but goodie: The Napkin Technique!!  This is something those of who have been stamping since before the age of amazing designer papers used to use.  It is still a fun technique and a great way to use those fancy napkins that are sometimes given as holiday gifts or that you run into on sale table at place like Marshalls and Home Goods!! I can't stand them for napkins, they are usually rough and scratchy and just look kinda strange.  But there must be a market for them, they keep making them!  I have a stash of them and often include them in giveaways.  With today's' cards, I used one napkin to make six cards!

One napkin unfolded, This gives me six panels

I use only the top printed layer, this particular napkin was a deluxe three layer version I used one panel in my journaling bible and made 5 cards


I mounted each sheet onto sticky back card stock.  This card stock I was able to purchase at a print shop, it was a one time find and deal.  You should try going to you local independent printer, both letterpress and offset, they have some amazing papers and usually will sell at really good prices.  These guys are craftsmen too and rarely will you find a printer that will throw quality leftovers and off cuts away!


I layered these on mirror board, also a pint shop find 
Added a sentiment and tassel and
Very easily made 5 


I hope you are having a wonderful holiday week, We are here, enjoying our daughters visit and exploring San Antonio!
Thank you for stopping by,
Ginny M

Thursday, December 24, 2015

Merry Christmas


Merry Christmas!  

May The Lord Bless you richly today and through out the New Year!

May the Wonder Of His love Change your life!


Steve and Ginny Maxam

Thursday, December 17, 2015

Project Fail!

Project FAIL!
a few days ago on a crafting group a few of us discussed the virtues of sorting DP's by color and I decided to give it a try.

 I  have 9 drawers of chopped 12x12 pads. They are cut into 6x6 mini pads, this makes it very easy for me to make cards. I am not a scrapper, I make cards, books and journals. I do have another 100 or so 12x12 set aside that I won't chop. These are all indexed


It took me 6 hours to do 2.5 drawers and this is how those ended up. PLUS I threw away about 8lbs of pieces I really couldn't stand and would not use. They went into a box for the kids club.


While I was doing this I really was thinking Wow, I'm still not happy with this, and I also remembered one time before I started and stopped. Then I remember why! Then I said okay this project is over. Fortunately the pads that I separated were from the time I first started buying printed card stock and not my favorites.


 I stopped separating them because I realized all these beautiful stacks were created to work with each other. These companies Hire Professional people to come up with beautiful designs and colors ways. And they appealed to me for card making because of this. So I was really shooting my self in the foot by separating them!.


I still have my index sytem working and I have two drawers of paper sorted by color so when I am just looking for blue I can find blue. Other wise I will continue to make cards the way I really enjoying making them, grabbing a stack and putting it all together!. Here are two of my early cards using this method


If you are a card maker and wonder if you should sort your DP stacks, I hope this helps you to decide whether or not it will help you in your craft!
Thanks for stopping by and here are a couple of freebies! 


Ginny M


Tuesday, December 15, 2015

Word Art Wednesday and 9 day before Christmas, freebies.

Where is the time going??  Maybe part of the reason it seems like it couldn't be any later than September is because it is so warm here in South West Texas!  AC on in the day and warm breezes at night!  I know I talk about the weather a lot, living in a different temperature zone just fascinates me!
Regardless of what the temperature is, It's still Word Art Wednesday's 214th challenge and the last challenge for 2015!

Here is this weeks' verse crafted by Karen Murray


I added it to this image ( you can right click and save)


Here's my finished card:


If you are interested here is how I made it:

I combined the sentiment ( right click and save) and the image in Microsoft publisher.  You can also use Word, but for the purpose of creating something I can share with you I used publisher.
I printed it on a lightweight watercolor paper.

I used quite a lot of Tim Holtz Walnut distress ink on the edges


I also inked teh back of the two corners I planed on rolling:


rolled and inked some more


I also inked the background paper


this gave it a very vintage look.  I picked out a background layer
and distressed that to!


glued it altogether, tied a gold filament embroidery ribbon
mounted on a 5x7 110# based and the card is finished! 


I hope you stop by Word Art Wednesday, read Karen Letchworth's devotion make a card and enter in teh challenge!  Have a great week and God Bless! 
Ginny M


Saturday, December 12, 2015

Black plus swap

Over at OSA we have a yearly swap you can sign up for ;it is called the black plus on color. This year it became black plus one color plus white. I like to make these as a set all at once, I did these last night:

The colors of the months:


An ODB Die


Glitter paper backgrounds


silver


Because I thought the cards were simple I wanted to add a little something extra, so I came up with including a bookmark!


If you are interested in Joining Oriental Stamp Arts, leave a comment and I will get the info to you, it is a wonderful group!
Thanks for Stopping by,
Ginny M

Friday, December 11, 2015

Tried something a little different

 On one of our shopping trips I came across a bit of antique pressed tin and thought wouldn't bits of this look nice on a card!  That element would not have worked, much to heavy and not card embellishment material.  I thought TH probably makes thing similar.  So I checked that out on another stop.  Sure enough there was similar products in the TH line.  I didn't like the price tag. And found myself saying the family mantra "I can make that!"

 That's what this post is all about!

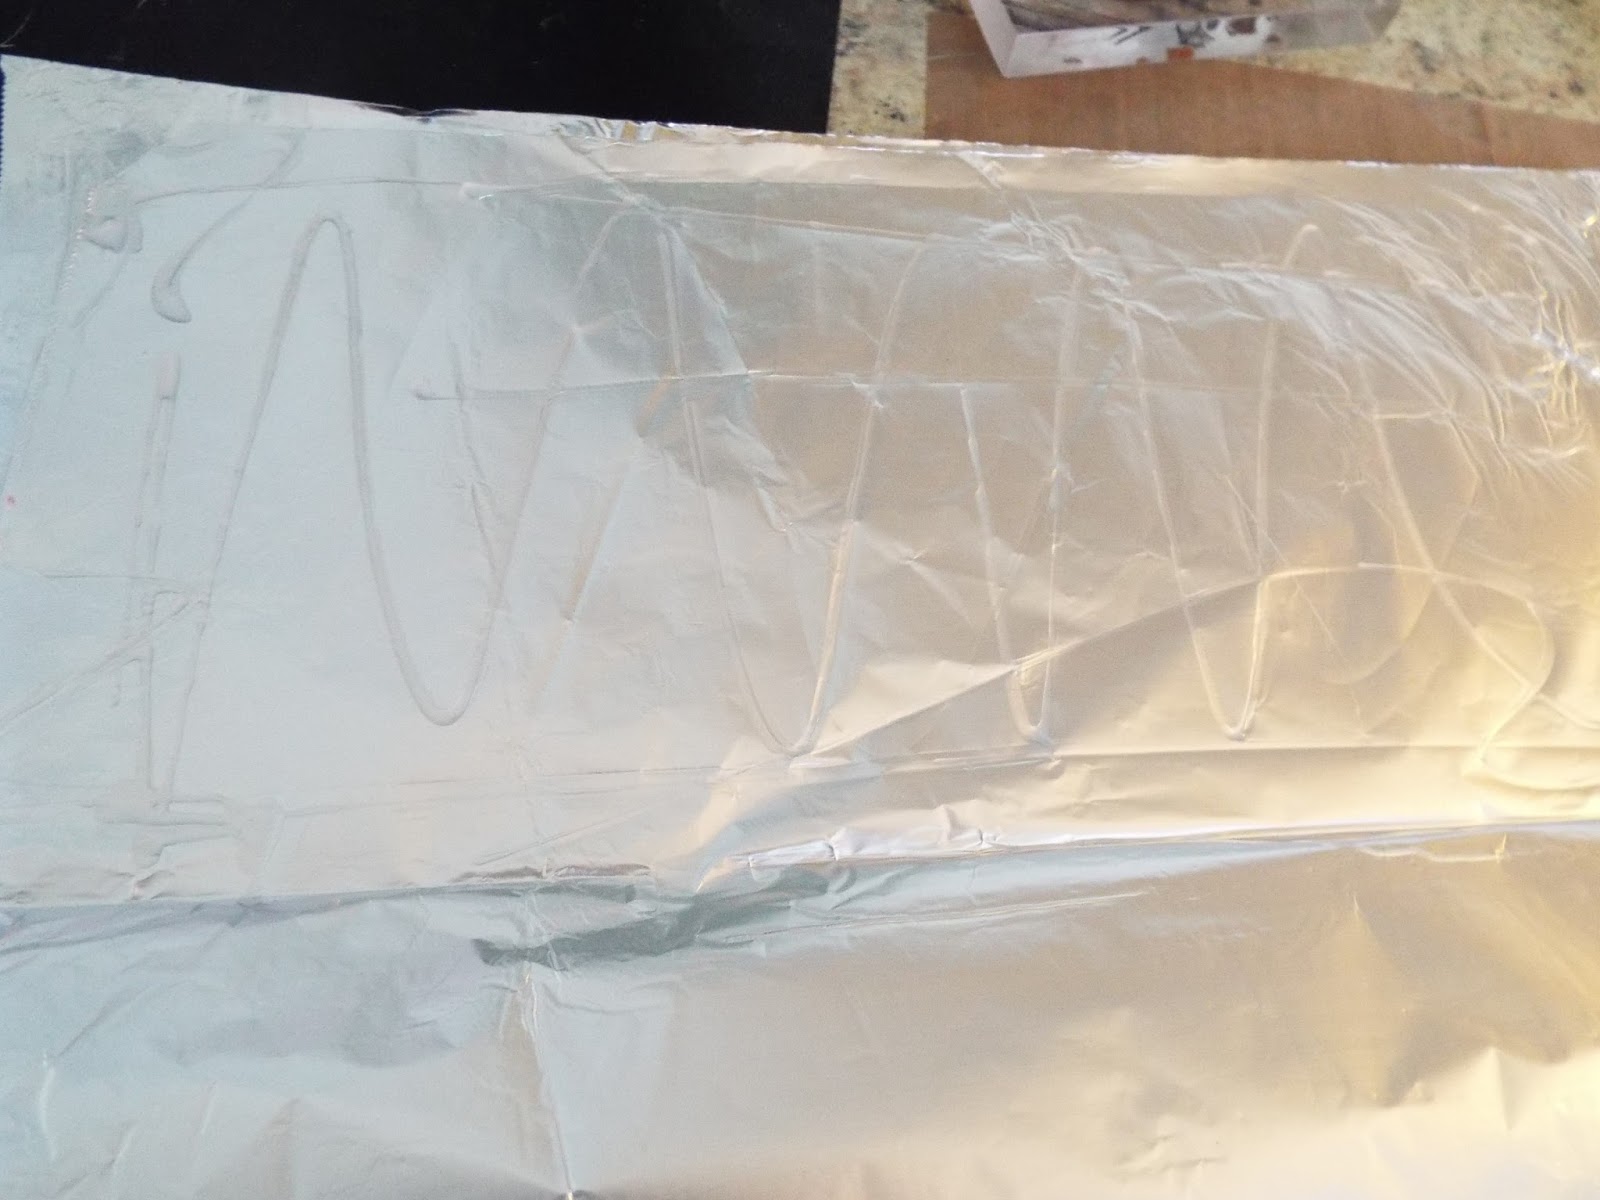
I pulled some reynold's wrap foil out of the kitchen and folded it with the dull sided up. to fit in an embossing folder,
I did add a small amount of glue in the folds, this was a good idea and If I ever do it again I will use more.


Ran it through my embossing machine


I added a bit of turquoise in, a Memento Luxe color - It's a multi surface ink


To Intensify the ink color  I added clear heat embossing - it's okay, I think paper actually looks better at this point.


As I am getting ready to mount it on a piece of card stock I notice two of the layers are separating. If I ever do this again I will use less layers and make sure there is glue in between all of them . For this experiment I just pulled them apart and went for another color.


I like the brown and then add a bit of black


the two final 5x7 pieces:


this seemed like a lot of work and If I decide I really like having metal on my cards, I think I will re shop the TH line!

Here is the card I made with my experiment:


Thanks for stopping by!!
Have a great day!
Ginny M


Scripture Writing Set up for the Week

I have been following a daily scripture writing program for four years now, the more I do this the more I love it! It is one small process t...