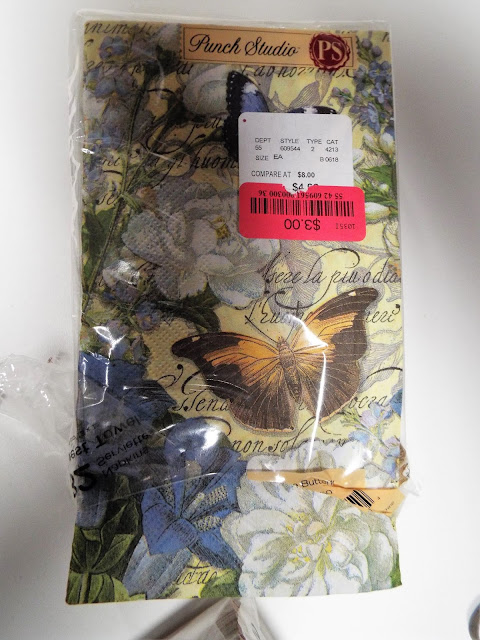
You can start with any size paper napkin - I like to pick min up at Tuesday Morning, they have a wonderful selection and are usually marked down
Separate the printed surface from the tissue backing - these napkins are usually 3 layers
I cut my panels to fit a light weight piece of cardstock
I drizzled glue on the card stock and then added my napkin panel
I found it was easier to keep the light and floaty napkin on the table and then place the gluey paper on it
Gently smoothed it a little bit - remember the napkin layer is very fragile
I gave it a few minutes to set up and the just added a puddle of Lineco glue. You can also use Elmers or any white PVC glue. There are a few different products for this that have different results. what you want it a glue that will dry clear and smooth.
I pushed it over the entire image with my finger - gently
I let the glue dry - I went to work and came back to it at night. You want to give this at least 4 hours to completely dry
Next I trimmed it out on my paper cutter
See what a nice gloss and texture this has! it feels really nice too!
From my one napkin I made 4 cards
With these cards, I just pulled the sentiment/verses from my stash, added a little white highlighting .
Fro this card, I used a border punch
I hope you give this a try, it is really lots of fun! It is also economical!
Have a great day,
Ginny M


10 comments:
What a great set of cards Ginny - I have used the napkin technique, but never with the glue payer on top - must try that, thanks for sharing
Blessings
Maxine
I have heard of making cards with napkins but not seen a tutorial before. These are GORGEOUS! TFS!
Very Cool, can't wait to try. miss you, xoxox donna
Lovely cards. I love using napkins in my art.
Beautiful cards, thanks for information! Can you use modpodge in place of clear glue?
First time seeing this art, love it, must give it a try, thank you for your tutorial...Ursula x
Post a Comment