Thursday, February 27, 2014

Friday

Well where did the week go??  Anyone else feel like time is flying by at an unprecedented speed?
I've had a busy week with family happenings and getting a few things together to bring to you on the blog.  Some fun things coming up!

I found this image on Facebook last week

I love the saying on this:


And turned it into this card


Unfortunately I wasn't able to photo the "snow " I added or the glittery berries.

I hope you are all having a great week and will get some rest and relaxation in this week end!
Ginny M

Friday, February 21, 2014

Paint Play and a friday freebie!!

A month or so ago I purchased a rubber stamp of waves, it is a very traditional Asian design, I had been looking for one for some time.  I thought this would make a great background stamp for my Asian cards.   I had in mind using acrylic metallic paint instead of going the ink/heat embossing route.

Today's post is about this trial and error process:
Here is the stamp, and to be honest I'm not crazy about it, the quality is fine, but the etching is really a little bit to fine for what I have in mind.

Since this was a cling mount I decided to try it first on my Mega mount block which I really like
 
My Acrylic paint of choice, Martha Stewarts , I buy this at  Home Depot.  This giant jar was 5.99 and will last at least a year!  The screw top lid really keeps this from drying out, so it will sit on a shelf for a long time and still be good.  It has a very high shine look to it.
 
 
Applied to the stamp with a stick sponge
 
 
first attempt, way to much paint!
Second attempt much better using less paint.

Next I tried a more traditional block; and my stamp press, this block it to large for me to comfortably hold and apply pressure so I use my speedball press (I've linked to a review in my blog about this tool!)
BTW  I love this press and it really does a wonderful job of turning out hard to stamp images.  Since I started using this there has not been one time I had to run over a stamp with my car tire!
 
Better!

Next I tried the heat embossing method:
 
Results:
Fine and detailed but to me  BLAH.....
 
So after letting the images sit overnight I would have to say the Paint with the press images are the best and I will be working to get more detail.  The gold paint left a brilliant shiny image.  I will also try it down the road with non metallic colors and see how that goes.
Here is a little flat stamp elephant image I did with the paint:

It is quite pretty in real life!
I hope you try using some of your supplies not necessarily intended for stamping, it is a lot of fun and it gives you more options.  I know there are new products out every day for our craft, but I'm not really interested in spending more $$  Just because another product has been launched.  I think we all know we can spend so much time buying, sorting and learning that we never have time to CREATE and become proficient at technique. I'd like to avoid that if at all possible and work at become really good with the things I already have! 
I'm going to take a look at using old fashioned pastel chalks for stamping next week, an take a look at printer ink refill economy and alternative stamp ink refills.
I do have a new toy coming by UPS today too, and I am excited to be sharing this organizational too with you and there is a good change you may already own one!!

Here is my freebie for this week!!  Have fun with these springy Art Nouveau images!!
Have a great day!
Ginny M
 

Wednesday, February 19, 2014

WOYWW #246

Yay!!  What on you Workdesk??  Just fun stuff today, a world wide tour of Crafting desks! It starts here at Julia's blog over the pond in the UK! 
 
We've got so much snow here, over 4 feet I wanted to bring some in and take a picture of it on my desk! 


Okay, that  isn't my street, it just feels that way!!

I've been busy like everyone else here in New England dealing with the snow and am sooooo ready for spring!!
Today on my desk, a batch of bookmarks that will be going out in get well  and thinking of you cards.
I read a lot ( real books), recently someone sent me a card with a book mark and I thought it was such a brilliant idea I've been making and doing the same!
 
I like to put something on the back, a bible verse or great quote.....
I used Nicecrane book mark images for these:
 
 
These images print up nicely, these are done on 100# smooth cardstock
 
I did one very simply in balck and white with out a backing
 
I am going to do a ink comparison soon, the ink I used on the backs and the front of this stamp is really printer ink I buy in bulk, for 7.99 I buy a large 16oz bottle black HP printer ink refill. I put a few drops on my ink pad and I have the best black ink I have found. Normal reinkers run around 4.99 per 1/2 oz.  if you do a lot of stamping and go through a lot of ink, those prices are downright gouging! I'd been looking for am economical replace and found one!!! But more on that later!
 
 
Thanks for stopping buy and I hope you have a great day and time to check out a few more crafty desks!!
Ginny M

Tuesday, February 18, 2014

Word Art _ The Best thing

 The word of God, The Bible, The love letter written to bring us light and life - It is my passion and I believe part of the purpose of my life, to tell everyone about this Great Love.  I've been on this mission for about 35 years. Every day It gets richer. Now I send cards, hundreds telling people that Jesus loves them, and that I at least like them. That they are loved by God and important to me.
I also get to have a lot of fun along the way and feel blessed as I encourage other to know Him.
Karen Murray helps me do that, She is an extraordinary graphic artist that specializes in 'WordArt'
I discovered Karen not to long ago and not only am I blessed by her work, but by her friendship too.
She has a wonderful inspiring  'Paper craftmemories' blog where she gives the word freely  and Etsy store to help keep the lights on!  I am privileged to make sample for her. I LOVE doing this!
 
I just finished her newest set which is now on Etsy and wanted to show them here on my blog:
You may notice how beautifully these cards are photographed, Karen did that too!!


Karen also designs for the Word Art Wednesday Challenge Blog, check it out they offer free digitals every week and an opportunity to win a great prize!
 
I hope you enjoyed the cards and can check out Karen's Blog and Etsy shop!
 
I also want to thank you for your kind comments, it really helps me stay motivated to blog!!
Have a wonderful day!
 
 
and I like you too!! 
Ginny M

Monday, February 17, 2014

For a painterly look + a freebie!!

Last post I mentioned a technique for a more painterly look, That is what I will be demonstrating today!
This is a fun simple technique to give your art a unique look. 
The only special thing you are going to need is an old favorite:  MOD PODGE!!

Good Ole Mod Podge and a plastic ketchup bottle.  You can use a different kind of squirty bottle, this is what I had on hand and it works great!

There have been a lot of posts on the craft sights about  making your own mod podge and you can it is pretty simple in ingredients.  Basically it is Elmer's glue and cornstarch.  I am all for DIY'ing things BUT  here's my tip on mod podge:  You can buy it on Amazon for 29.99 a Gallon with free shipping if you are a prime member. For that price, I spare my kitchen the mess and have it shipped to my door once a year!!


This technique requires adding a layer of mod podge on to your focal area. 
 

My first attempt was with this lovely image. Mod Podge is a water base product and so isn't my ink from my printer.  The first application I used a sponge, and that just lifted the ink and moved it all over the image.  Next I tried a brush, same result.  The last thing I tried was my finger. I tried to evenly spread the podge over the image and while it was better, I was still displacing the ink, you can see some of the color pushed over to the bar margin.   So this was not going to be good with any of these applications.


What I needed to do was quickly get the podge on the surface and get it covered and lift the excess off.
I then tried faithful wax paper!
 

I added about 1 tablespoon of the Podge and then layered a piece of wax paper on top


Working pretty fast - (I learned to do one image at a time for best results) I spread as evenly as I could see and feel  the podge under the paper and then lifted off.

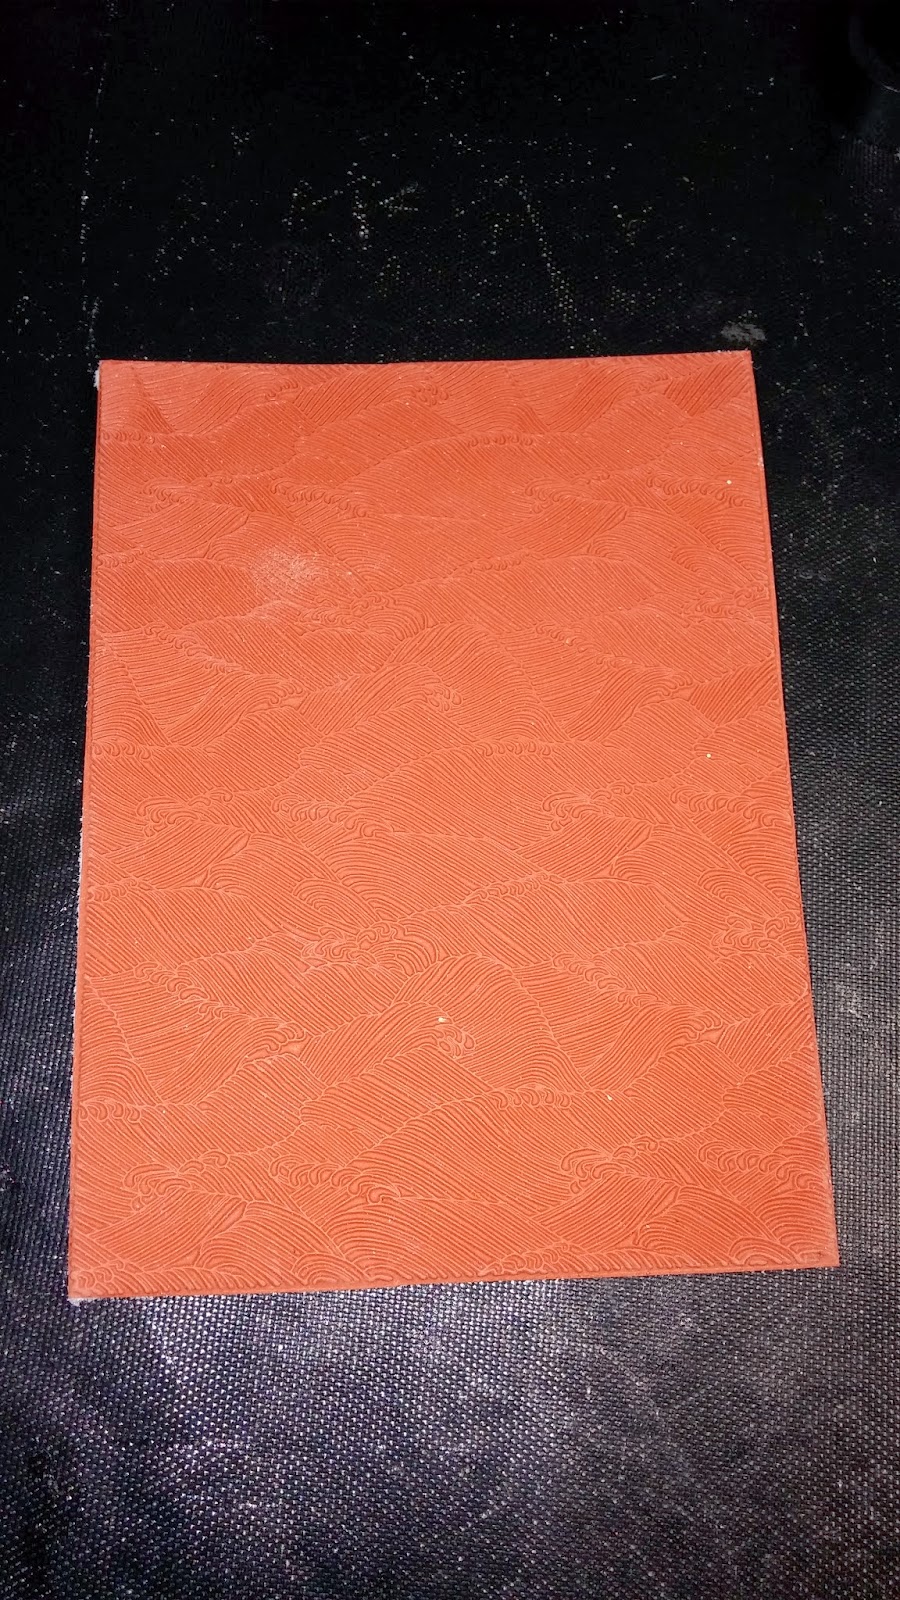
This gave me a nice even coat.  It is hard to seen in this picture.  One thing about this art form, there is a lot of trial and error involved.  Next batch of my impressionist images I am going to print them on a smooth paper instead of a "laid " finish.  While this photo is magnified, you can se the textured finish and I am not crazy about that. They look good in real life, but I will printing on smooth for the next set.

Here are two set of cards with and with out the top coats;

Mod Podge increases the vibrancy of the image and it has a nice oil canvas painting feel to it.


It still looks lovely but it is a more delicate look.
This image is one of my own digitals.

I made a batch of 20 of these cards and they will be March birthday cards for one of my groups.
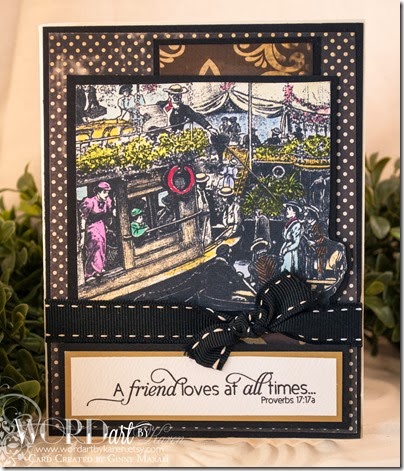
This image is a NiceCrane  image fromn the Japanese Garden Collection, I made another 20 of these for Birthday cards for my Oriental Stamp Arts Group.


Printed image, sized for an A6 card

With the Mod Podge coating

With out:

 
It's a hard choice, but it gives you another option with your stamp art: digital or rubber, it works beautifully!  If you mod podge your image it also become very durable and you can wipe it down.  I use it often when I am making books and book marks!
 
Here is a freebie for you to play with today!!
A famous painting by John Singer Sargent of one of his daughters, you may notice there is no snow in this painting!


I hope you enjoyed this simple technique!
I hope you have a great day
Ginny M

Saturday, February 15, 2014

Versatality with Digital images and card making

Last post we looked at the high resolution and highly colored Vintage Elegant Ladies Images by Nicecrane.  Today I want to work with something a little simpler,  black and white images.  This image set is also by Nicecrane and it is from the Vintage French Post Card Collection.

I want to give you a few Ideas for using digitals, especially one you can add your personal embellishing touches too.

I am going to first use the Swallow Tail Stamp


With my older printer I have to make an adjustment to the  image before I can print.  My printer is heavy on the ink and I use 100# paper.
The extra bulk of the paper means that it creates more pressure on the ink jets causing a deeper saturation. If you have problems with getting over-saturated images with your printer I can help you SIMPLY remedy that.  Just leave a question in the comments box and I will get back to you.  I won't go any details right now, I don't want this simple process to sound complicated!!
 
Here are some additional  supplies I used for my cards:
Glue, Distress glitter, Pebbles Chalks and a piece of designer paper,  not pictured here because of   after thought,  glossy accents and distress ink pads.

The first is very simple:
 With this card all I did was print the image, mount on several framing layers, add two Script stamps, a bit of distress ink on the edges and a half bow.  Total time 6 minutes.  I made a half dozen using different layering colors, this is a A6 size.

These images can go from teeny tiny to a whole 8x11.5 size. It's up to you  to determine the size!  Wouldn't this make a cute 3.5 x 4 thank you note??

Next I added a little chalk on Colored Designer cardstock for the base.:

This card took me about 8 minutes to make.  The "Thinking of You" was made in Microsoft Word.

Lastly a bit more glamorous:


With these cards I printed the digital image out on the flowery paper, then fussy cut the post mark and the bird. I added the black layer, black lace bow, Used Glossy accents on the Swallow on the left and without the Gloss on the right.

These cards took about 10 minutes each to make not including the drying time for the GA.

I only mention the amount of time to give you an idea how simple it is to use a digi.

Here are two of the Chair images, These will end up having "Bring on the Cake" sentiment labels in the lower right hand corner.  I often make cards without sentiments, and then when it is time to use the card I put the appropriate sentiment on it.


The color on the image face is distress ink layered until I like the affect. Again SIMPLE.
 
I do use alcohol markers and enjoy using them very much, but I am not into "coloring" images that are cartoonish, I prefer things that have a more painterly look.
Speaking of which, next post I am going to show you how to turn your images into a more  "painted" look, with things you most likely have in your craft stash, and guess what: it is SIMPLE!!
 
Thank you for stopping by and I hope this inspires you to work with beautiful digitals !
Ginny M

Friday, February 14, 2014

Digital images

I have begun using digitals more in the last year.  For a number of reasons:
 1)I am tired of the same ole rubber stamps,
2)  I am tired of spending at least $10.00 for one stamp and it's restrictiveness of one size. 3) Storing an ever mounting collection is a problem as well as trying to remember what I have! 4) Lack of images I like, I don't like cute, I like Botanical, Asian, Fine Art, Bold Designs. 5) I am not a great colorer. 

Today I am going to show you the promised images from Nicecrane designs that I mentioned the other day and gave you a sneak peak.  These images are a little different for me, but they helped me work up a batch of 2 dozen cards in a few hours.   This set is called Elegant Ladies II  I really enjoyed working with them.

Before I show you I want you to remember you don't need a fancy printer to do digital prints well, Remember I found my printer on the side of the road one night??   Every printer works a little differently and you have to spend a little time to get to know how yours works and how your papers work with it.  I don't buy special papers for the printer, I do buy good paper for all my card making endeavors.  

Here are my cards!

The best way for me to work is to look at things from  a color prosective, I start pulling colors to work with my image.    If pulling things together as far as composition seems a little daunting, use a sketch!  Use what ever tools make you happy and successful, there is no right or wrong, these are cards we're making not world peace agreements!!
 
 
Here's my work area, I took one of my printed ladies and just starting building the card.


I used a thin spellbinders die for the initial cut and damaged the paper of the image, So on the next one I put a sheet of wax paper between the die and the paper - perfect cut!
 
two images, the one on the right was the damaged image, I just carefully cut the damage off and you really wouldn't know!
 

Because I am backing to using glue on my cards (and saving a ton of money with better results than ATG tape especially with dry embossed elements.) I am also using my homemade press when making a batch of cards.  You could always put a few cards  under a book  - I'm not sure if they even need it after the waxed paper burnishing but I will use the press if I know I may have put the glue on a little heavy.  Here I used two of my cuttlebug plates to support the oversized card pressing.  Worked great!  The stayed in the press about 10 minutes.


These designs like most high
quality digitals can be worked in any size you'd like them to be.  The cards are  5x7's so these focal images are quite large.  Aren't they beautiful!!  There is now way on this green earth I could ever color anything like this!


I also made a book mark as a little gift to send in the card!  I love pretty book marks and my friends read a lot too so I know when one of them gets this card they will be delighted!!


This idea of making a matching book mark is something new I am doing, all because a friend from Australia sent me one and I just thought it was so great!!


I am all for using what you have on hand, here I took the wire out of the wire ribbon and used it to secure a  bow type ornament for the card. 


You can see the dramatic changes in the sizes for these images, I can make the image the size I want it to be!!


These cards were really a lot of fun to just make as I go. No Stress!
Here is the preview sheet to the Vintage Elegant Ladies set:


Next post I am going to talk about working with black and white digital images and their flexibility.
Here's a preview:
 
In the mean time, you are welcome to copy this beautiful Monet Image of mine and play with it over the weekend!!  Please note there is no snow in this "Madame Monet" picture!!
Enjoy and have a great weekend!
Ginny M


Scripture Writing Set up for the Week

I have been following a daily scripture writing program for four years now, the more I do this the more I love it! It is one small process t...