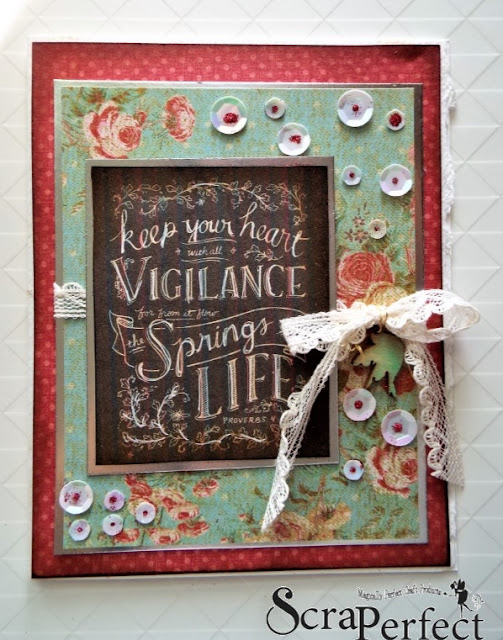
Here is the card I made with this low-tech, high-performance tool!
To help you make this card I have this freebie for you, it is not one of my originals, but I Know you will enjoy it!
For details, please read on!
I simply pulled stash paper:
one of my chopped 6x6 pads (from a 12x12)
few colors to pick from
I selected and printed and oops, this didn't work out too well!
Time to reevaluate my paper. This obviously didn't work!
something a little heavier and less coated
Holding it all together - Best Glue Ever!
Ater cutting and assembling, the fun part - embellishing with the Embelli Gelli!
This fun tool will last so long, you just take a like "dip" of the gel and place it on the tip of the wood stylist (or you can use one of your fav pointy tools)
I place dots of the BGE on the paper where I want my embellishments, pick up the embellishment
and place it on the glue. simple and easy as can be!
I purposely add a tiny bit extra to it will come up through the hole in the sequin
and then add glitter!!
wait a minute or two:
I hope you'll have a few minutes to make your own vintage card, Using the Embellie sure makes it easier to add those tiny embellishments!
Thanks for stopping by!
Ginny M


3 comments:
Absolutely Gorgeous card -- love how you glittered up the sequins with the glue that comes through the center! Sweet idea!
Lovely freebie as well - thanks!
Think I have that beautiful paper you used--absolutely love this card! That does look like neat stuff--great result with the sequins!
Wonderful project Ginny, and thank you so much for the Freebie. I like the look of the embellie gelli! You have certainly made the most of it on this card :-)
Blessings
Maxine
Post a Comment