Tuesday, November 29, 2016

A tutorial on Mail-able dimension and Alcohol Coloring

I love cards with dimension!  You will see cards on Pinterest and designers blogs
 that look like they took a week to make and should be on top of a wedding cake!
 I admire the designers that create these paper confections - how do they even think them up?
While I love these masterpiece cards, they are not on my to-do list, why?  Because you really can't mail them without going to a whole lot of trouble to package them safely.  I do use foam tape and that gives cards an extra pop that is mailable.   What I am going to show you today is one of  my favorite techniques  for creating a mail-able dimensional card colored with alcohol markers. today's how-to is more focused on the dimension than coloring.  I used alcohol markers, but you can use your favorite coloring system.

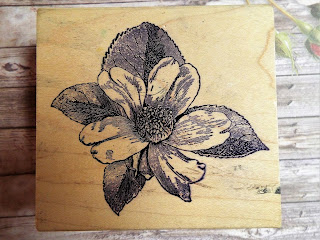
You can use a digital image or a stamped image, just make sure you use the ink that works with your coloring medium. For today's card, I used this beautiful Magenta Stamp:


You will need two of the same images

For markers, I used only 7.
Here are the colors that I choose


For each of the flowers, I put down a layer of the light red ( FS8 in this case)
I did the whole flower with the base shade
and then worked on each petal , using another layer of the FS8 then worked in the darker red DR1 blended with the FS8


I color both flowers and then fussy cut each one.


                Using the blender pen really give the petals a painterly look, something I strive for
Here they are cut out
 Color the back of the flowers with a light shade of what you are coloring with. I used the darker read and had some bleed through.  It wasn't too bad but I did have to work on the top side to "fix" it a bit.


For the top flower, I cut  the leaves off and set them aside and then separate the flower petals down to the center of the flower.  I gently rolled the petals in my fingers.  Nothing fancy, I just worked them until I was happy with their shape 


I shaped the leaves and added the cut out one back in.
I glued this flower together with Lineco glue, mounted it on a framing layer of
 card stock and added to my base.


When I mail this card I will place  a 4x6 piece of light card stock over the flower.
It does get pressed down a bit in the mail, but they hold up pretty good and does not need to be "packaged".

This is not a new technique by any means, but one that helps me achieve a look
I really like in my card making!  I hope you give it a try, it is a little addictive!

Thanks for stopping by!
Ginny M 
Monday, November 28, 2016

A color Challenge and a freebie

Verve Stamps has a November Challenge just about to close.  I found it the other day and I really liked the colors so I thought I would join in, why not,  I will have a nice card made and an opportunity to win a 30.00 prize!!

Here is the Color Cue:


My image, and a freebie to you:

I like this image and thought I could pull it together with the color cue.

I used alcohol markers and watercolor pencils


Picked out backgrounds:
every layer has a dark color lining and I rub every edge of paper against a black inkpad.  that little extra step gives everything a more vibrant look.


Here is my card:


I hope you stop by to Verve stamps and enter!
Have a great day!
Ginny M


Sunday, November 27, 2016

Stash busting and a tip and a freebie!

A get well card I made tonight for a member request on my FB group Christian Card Makers 
The base card was a piece of cardstock from one of the first Paper stacks I purchased in 2011 . It was DCWV 'four seasons'. I cut the whole stack in half and m ade 6x5 cards. I think I have used every piece of that stack and this was the last one!


The butterfly stamp is a Tim Holtz stamp and is ink with memento black on Neenah solar white.


Sentiment is one of my digis'


Coloring done with pencil


I coated it with a layer of Lineco glue - this gives it a leathery feel and makes it very durable.

Another little trick I have, is to color  my dimensional's reverse image side. 


Here is the finished card:

Pretty simple, working with things that haven't gotten packed yet - 
I forgot how much I like those papers!


Thanks for stopping by!
Ginny M

Oh and sure why not a freebie too!!


Saturday, November 26, 2016

Card for a bride and a freebie

I have a dear friend getting married next month and this week I will be going to her shower!  It is a Lingerie  shower so I came up with the perfect card (I think)


Here is the image, you can save this for your  card making too!


I changed the color to match her wedding dress.  Did I mention the bride is 74? 
I fussy cut and inked the edges to give it demension


Picked a background paper and inked it:


It definitely needed some contrast framing  and a little bling!!


I thought this corset was such a pretty image and then all blinged out- I love it - I hope she does!
Thanks for stopping by !
Ginny M


Friday, November 25, 2016

A little bit of cute

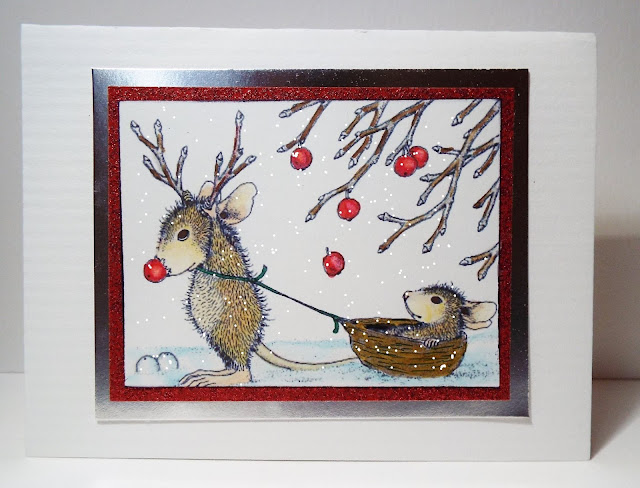
I had a swap card to do this week, it was for was  a house mouse stamped card.  I have a few H. M. stamps and while I am not a big fan of cute, I really do like the House Mouse stamps and could easily develop a whole collection! I am gravitating more and more to the cling mount stamps because they are just so much easier to use and store.  This card was made with a stampendous cling mount  stamp and it came out perfect the first time using the Misti Stamping tool and Memento ink.  I colored using alcohol markers and created the snow with a white gel pen. Just a simple sweet card.


It's in the mail already and I'm also entering it in the 
Thanks for stopping by!!
Ginny M

A little G45 ish

I had to do a swap this week using a g45 stamp, any g45 stamp.  I have a bunch so that was going to be an easy swap.  Except on thing, the stamps were packed and sealed.  And I wasn't about to start unpacking and looking for one stamp.  I had a backup plan.
I own  a copy of the public domain art the stamp came from in the first place!  Here it is, you can have it too!
 I have some crafty stuff unpacked, but not much. I really wanted to make a card with a lot of pop.  There are so many card makers out there and so many tutorials and demos and don't even get me going on cas-ing and Pinterest - you card makers know what I mean!!  I wanted this to also be a little different!  When you only have scraps to work with you really do become a little more clever.

I wouldn't have reached for this specialty as a first choice :
I just added a little ink and it became quite special!!


But that still leaves me with the image and a LOT of white space, I'm really not fond of white space unless it is a CAS card. 


So I fussy cut the image, glittered her dress, found a feather and made a boas.

Then I dug in my odd paper drawer and found this tissue paper - perfect! 


and here is my finished g45ish card!
the "stamped" image is on foam tape. 


I hope you can find some time to create this weekend, save yourself the stampede at the craft store and use what you've got!!
Thanks for stopping by!
Ginny M

I'm also entering this card on a new to my challenge blog called 'Jest Keep On Creating' Check it out!


Thursday, November 24, 2016

Happy Thanksgiving!

Happy Thanksgiving to all my readers and friends whether you are in the USA or around the World, may this day be full of Gods Bounty and Blessing!


Ginny M


Wednesday, November 23, 2016

Word Art Wednesday and Thanksgiving and a freebie

It is Word Art Wednesday Time! 
I am thankful to have found this blog a few years ago. With all the free digital verses, devotions and card inspirations my card making and outreaching abilities  have soared!  If you have never been there, click on the link this is what you will find:
A beautiful bi-weekly devotion by Karen Letchworth 
A wonderful digital Bible verse Created by Karen Murray  which  you can use for your crafting - at no charge and links to over 300 more!!
And then there are almost a dozen beautiful examples of how you can use the verse with links to blogs with all kinds of eye candy and paper crafting fun!  If that isn't enough, you have the opportunity to make a card, enter in the challenge and maybe win a really nice prize to add to your crafty stash.  Who wouldn't like a $25 gift certificate from Simon Says Stamp!! If that isn't enough reason to join the Fun, sending that card you made and making someone's day is!!


                                                          Click here for Todays Verse:

Using this Digital image (you can right click and save this for your card making - Enjoy!)

The Verse:

My card:


Most of the coloring was done with distress inks!  I used an alcohol marker for the red door and flowers.

Thank you for spending precious time here at my blog, I strive to make it worth you time!  I hope you have a wonderful holiday!  If you can make it back for the Next Word art Wednesday, I have a very special gift for my readers!
Ginny M


Tuesday, November 22, 2016

A quick stop at WOYWW #390

I'm a quick stop here today!!  Join in the Fun worldwide crafty desk hop starting at Julias Blog!

This is it just a little desky left, all packed up and just about ready to go!


                                             Still managing some fun cards though!!
Thanks for stopping by!  
Ginny M

Sunday, November 20, 2016

A horse is a horse of course unless the horse is Mr. Ed and a freebie

Anyone besides me remember that show?  I can still hear him saying "Wilburrrrr"
I had a horse card swap to do this weekend and this is what I came up with.
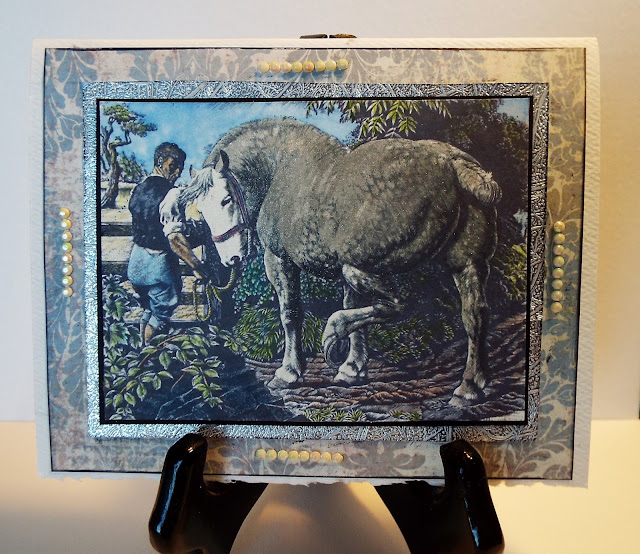
Colored with pencil and alcohol blending pen - Yum 

 This card is going to be mailed out to my card swap  partner,but I am also entering it at a new to me challenge blog called Crafty Creations  The challenges' theme is "Animals"! 

 You can't see the silver Wink Of Stella I gave horse but where he looks like a dull gray, he is really a sparkly silver.


Here is the image for you to play with!

Hope you have a wonderfully blessed day!
Thanks for stopping by!
Ginny M

Friday, November 18, 2016

Things you do when you are in a holding pattern

I am such a nester, you ladies who have had children may remember that "nesting " stage in late pregnancy, well  mine never ended.  When I get stressed, I nest, when I am happy I nest, when I am board, I nest.  To me, there is just always room to improve things (nesting). I think I might be a little compulsive about keeping things in order (nesting). Maybe.
Since I am getting ready to move again, 2/3rds of the house is packed . I am looking forward to loading that truck , getting on the road and starting the next chapter. I am getting a little stir crazy.  In an effort to expedite the settling in of the new place I am trying to get everything ready here so that I can just  unpack, like a nest in a box, the box will open and the house will be ready.  I've got new curtains sewn,  paint picked out, furniture arranged (in my mind) for all the rooms.

My new craft room will be about 12x10, which will do me just fine.  I've really purged through my crafting supplies and feel like this will be a pretty easy transition.  I don't just craft for fun, I craft for work and I have an outreach ministry.  So this room is very important to me.  It is important not because of looks and stuff, but because of what I can do from it
.
I've started my new color scheme, sewn curtains and created my planner for 2017  Here are my colors:

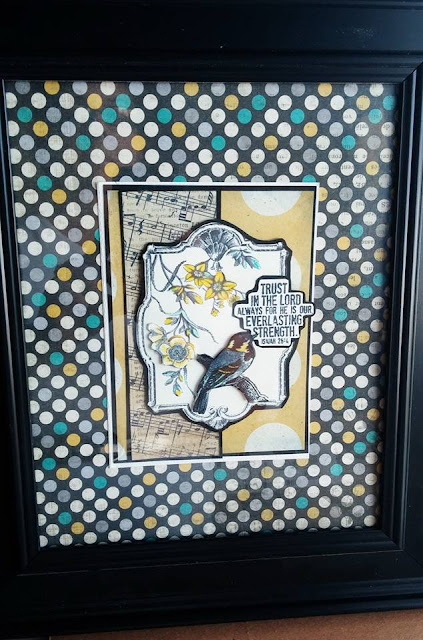
I've got this in a 10x12 frame.


I have this in a black and gold frame

My work  table has black legs and a beautiful wood top that we will put a piece of plexi on, it is 42x60 so I will have a great work surface.
It would seem everything I have for storage is a different color, So I contemplated painting a few things. I wasn't sure if I should do everything in black or white  or what. 


So I went to the store without a firm plan:


I thought about turquoise and black , but then I thought what a disaster it could end up and I might get really sick of it. 

My marker Cubbies are white and are made really well, I really didn't want to ruin them.  So I put the turquoise back and picked and ivory that matched the ivory color in the planner I recovered - one of the four colors in the color scheme.  I'll let my owl paint brush holder be the turquoise pop on my desk.  I took the safe route.
And glad I did!
Spray painting on a windy south Texas day meant this was done in two hours.

First, it all had to be emptied, which meant , pens and ink pads everywhere.  But that is okay, If  I waited to do this in NY, I would have had to wait until spring to do it outside.  You can see the packing evidence everywhere! Yuck!


Sprayed and dried in two hours,
loading everything back up, I bought this piece at a tag sale for $2.00, it is pine.


Steve bought me these about 4 years ago before the company went off the grid.  Love these they really keep things in order.  They were called Craft Cubbies.


This piece I picked up in a thrift store and it is perfect for holding my water colors, H2O's, chalks and pastels - so all my coloring tools can sit on top of my desk.


The planner

So glad I went with the ivory!  My desktop now on a temporary mini table.


For $3.98 and a couple hours of time, you can't beat it!
Thanks for stopping by and hope you find time today to create!!

Ginny M

Scripture Writing Set up for the Week

I have been following a daily scripture writing program for four years now, the more I do this the more I love it! It is one small process t...