I love cards with dimension! You will see cards on Pinterest and designers blogs
that look like they took a week to make and should be on top of a wedding cake!
I admire the designers that create these paper confections - how do they even think them up?
While I love these masterpiece cards, they are not on my to-do list, why? Because you really can't mail them without going to a whole lot of trouble to package them safely. I do use foam tape and that gives cards an extra pop that is mailable. What I am going to show you today is one of my favorite techniques for creating a mail-able dimensional card colored with alcohol markers. today's how-to is more focused on the dimension than coloring. I used alcohol markers, but you can use your favorite coloring system.
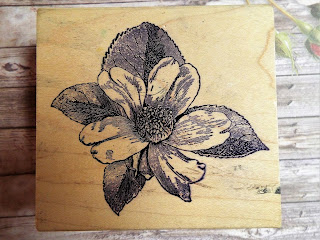
You can use a digital image or a stamped image, just make sure you use the ink that works with your coloring medium. For today's card, I used this beautiful Magenta Stamp:

You will need two of the same images
For markers, I used only 7.
Here are the colors that I choose

For each of the flowers, I put down a layer of the light red ( FS8 in this case)
I did the whole flower with the base shade
and then worked on each petal , using another layer of the FS8 then worked in the darker red DR1 blended with the FS8

I color both flowers and then fussy cut each one.

Using the blender pen really give the petals a painterly look, something I strive for
Here they are cut out

Color the back of the flowers with a light shade of what you are coloring with. I used the darker read and had some bleed through. It wasn't too bad but I did have to work on the top side to "fix" it a bit.
For the top flower, I cut the leaves off and set them aside and then separate the flower petals down to the center of the flower. I gently rolled the petals in my fingers. Nothing fancy, I just worked them until I was happy with their shape

I shaped the leaves and added the cut out one back in.
I glued this flower together with Lineco glue, mounted it on a framing layer of
card stock and added to my base.
I glued this flower together with Lineco glue, mounted it on a framing layer of
card stock and added to my base.

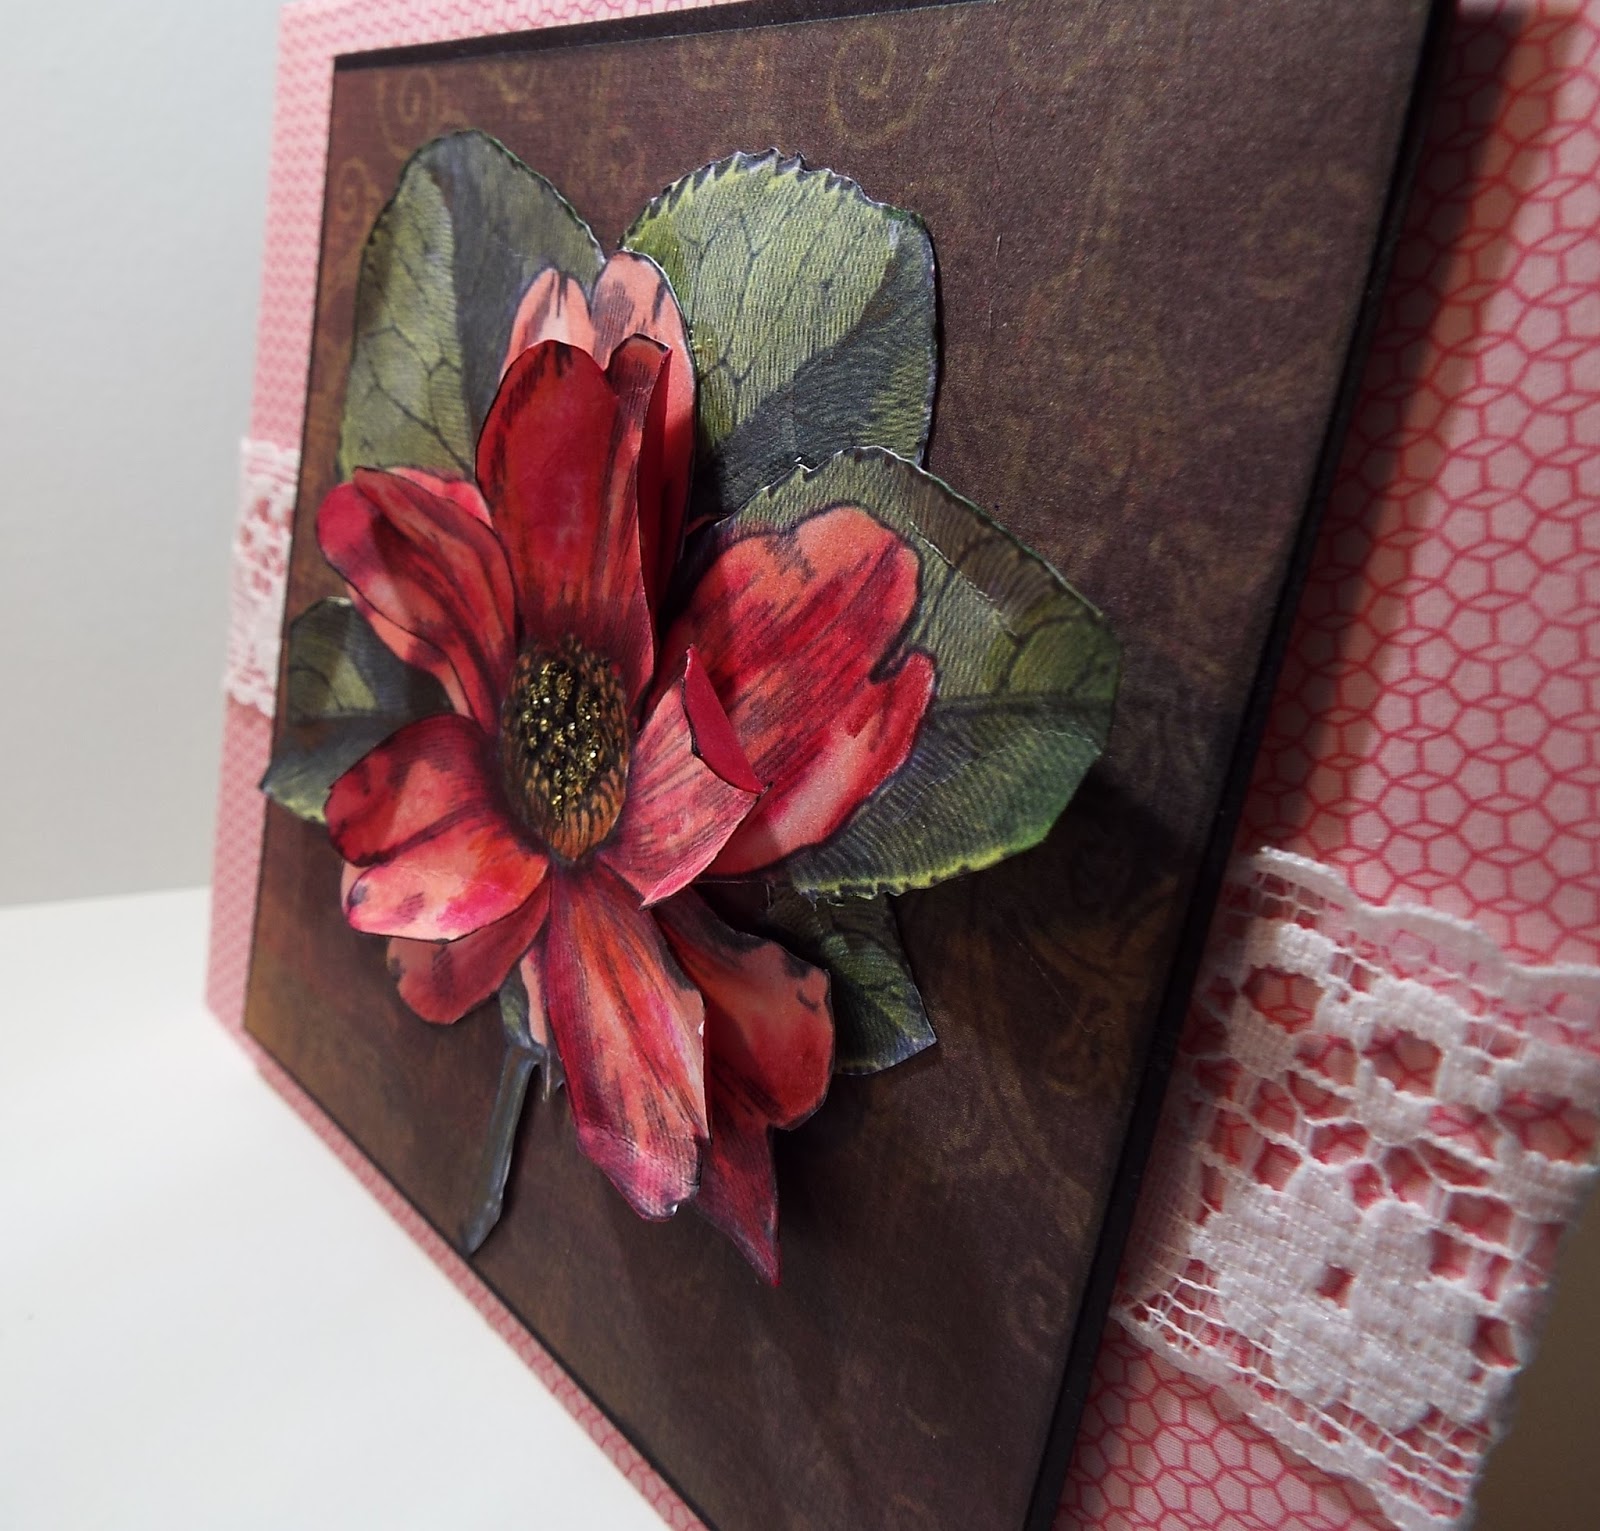

When I mail this card I will place a 4x6 piece of light card stock over the flower.
It does get pressed down a bit in the mail, but they hold up pretty good and does not need to be "packaged".
It does get pressed down a bit in the mail, but they hold up pretty good and does not need to be "packaged".
This is not a new technique by any means, but one that helps me achieve a look
I really like in my card making! I hope you give it a try, it is a little addictive!
I really like in my card making! I hope you give it a try, it is a little addictive!
Thanks for stopping by!
Ginny M


9 comments:
Ginny, this is amazing!! It looks so REAL and super dimensional! I'm blown away, thanks for sharing!! xoxo Jen
Wow I love it, beautiful what an awesome card .
Thanks for this tutorial Ginny - that flower looks amazing. When I am sending something dimensional (and never great layers and dimensional flowers, that is not my style either)I use a layer of bubble wrap over the card front.
Blessings
Maxine
Thanks for the freebie and for sharing your prretty card! I'm glad you are making cards again. I enjoy your cards and get ideas.
Where are you moving? I must have mussed that in your blog.
Hi Deborah, we're moving to New York - Syracuse area! Thanks for stopping by!
Lovely colouring, superb card TFS. Great freebie too, ta!!
Shaz in Oz.x
{Calligraphy Cards - Shaz in Oz}
thank you for telling us how to do that..I love it...I love the cards you make...just beautiful...thanks again
First of all I love the digi image you chose. Looks so good in black and white. Then secondly I do like the choice of pens you used to colour the flowers with, beautiful colouring on both of them. Finally, what a lovely card, the finished flower loos just perfect on that card. You should be awfully proud of your work, it is beautiful.
Hugs, Neet 2 xx
Post a Comment