twinchies
I promised a quick tutorial on my glassy Butterflies and I am posting it today.
This Techniques is really so easy to so and the results are wonderful! You will probably already have all the supplies in your stash! I choose butterflies for this tutorial, but you can use anything you loke for a 3D focal image.
I used a Nicecrane image Called Butterfly Twinchies, you can use a digital or a stamped and clored image
Wether you use digitals or hand stamps, you will need two sets.
Here I printed two sets of the
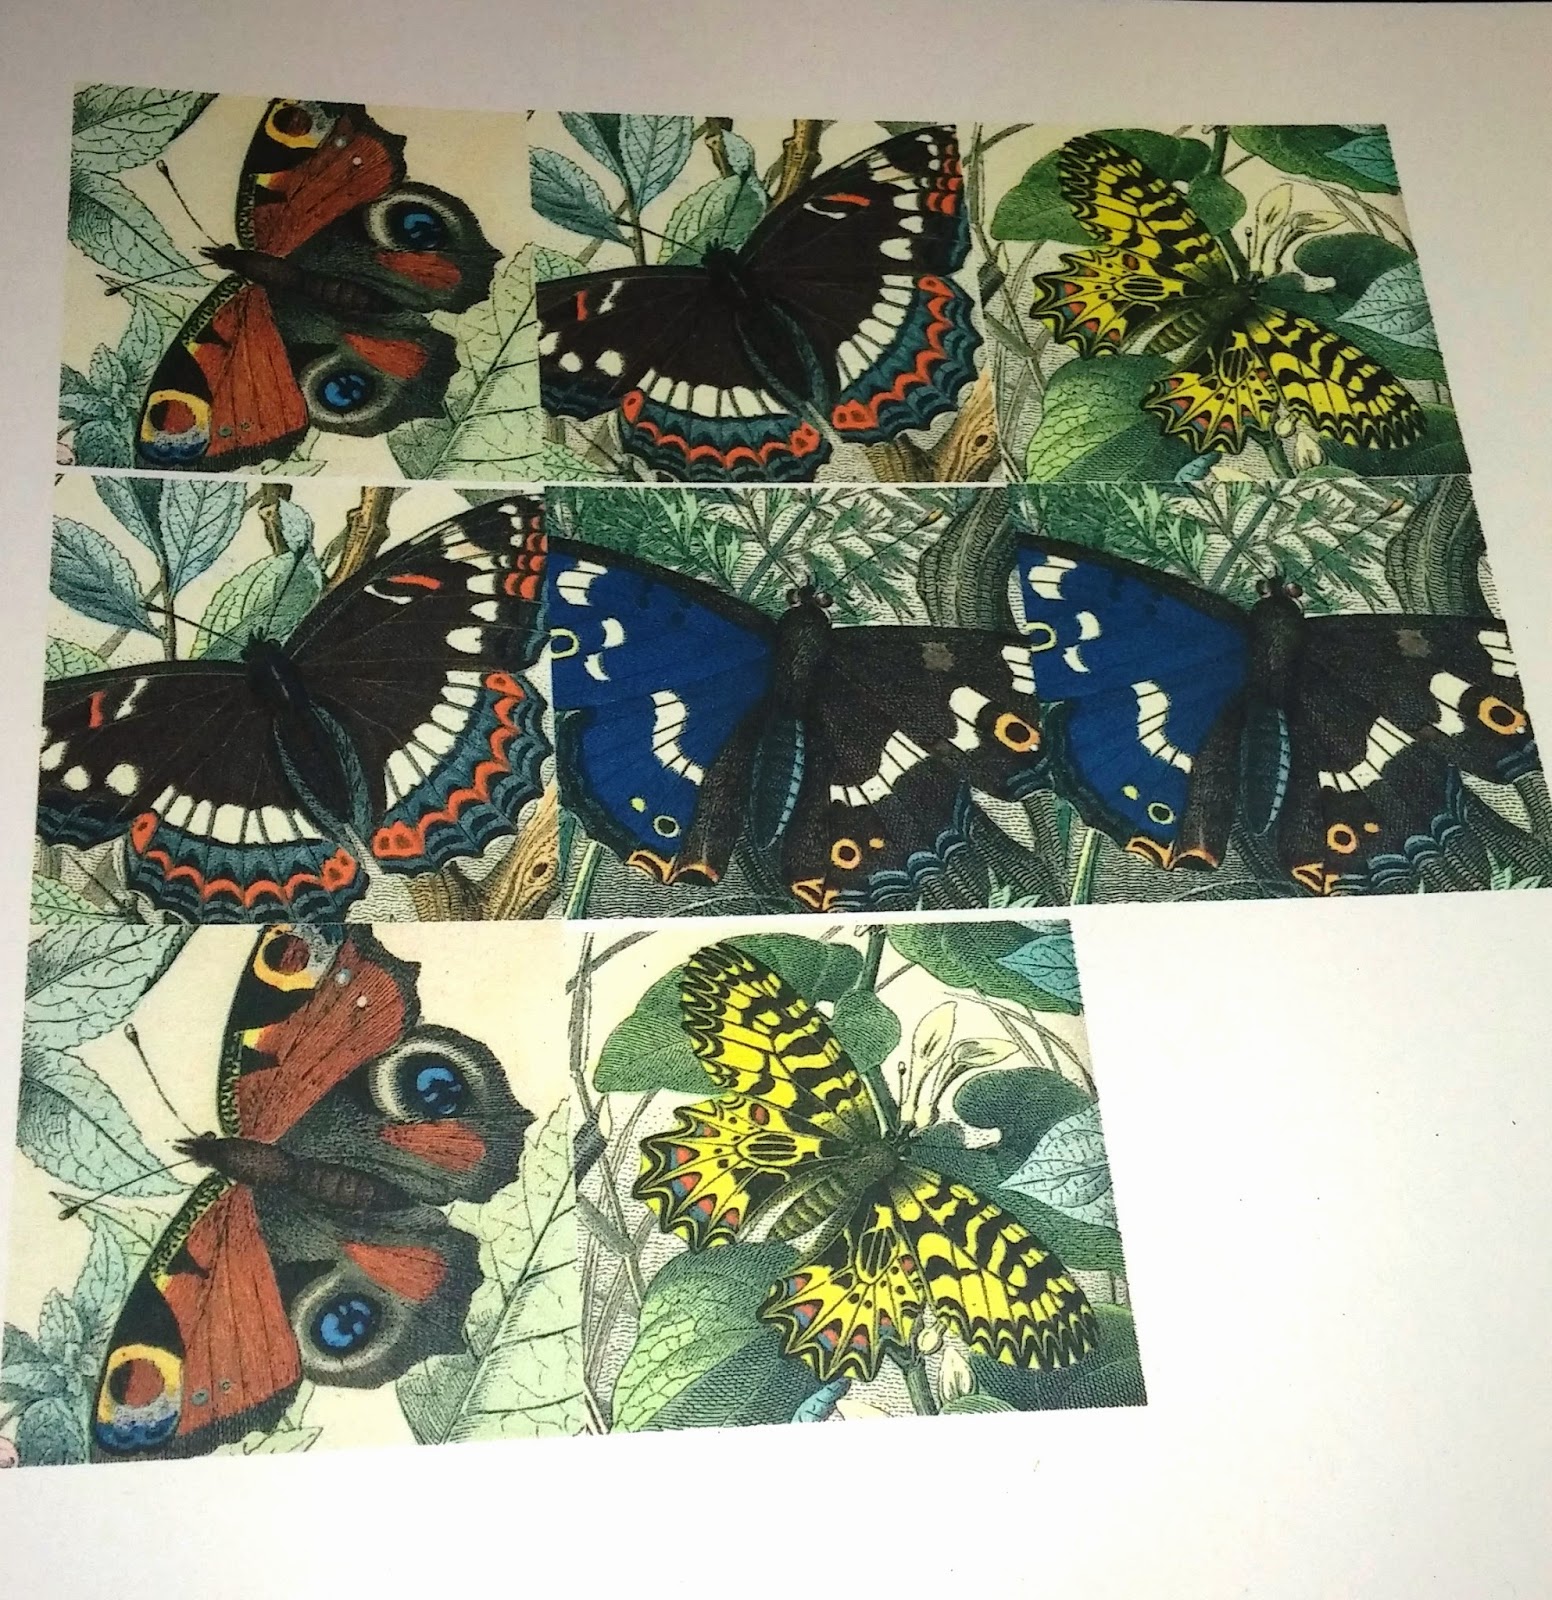
Nest step in creating the 3D glassy butterflies
Dollop on a thick layer of Modge Podge
I use my finger, nothing fancy - just try to get a fairly even coat.

I purchase my Modge Podge on Amazon, for 29.99 a GALLON free shipping!
This takes about two hours to dry
Here you can see the butterflies before I fussy cut them.

The next step requires fussy cutting the focal images. The Modge Podge give the paper a vinyl feel and makes it very easy to cut.
After cutting the images I edge them with black marker.
Here is the card!! The glossy butterflies are hot glued on to the same image on the card layer.

Here is a side view to help you see the 3D effect. This is so easy and works so well!

I hope you give this a try, it is well worth you time
Thanks you for Stopping By!
Ginny M
Here is a preview of the Nicecrane set


5 comments:
What a gorgeus tuto Ginny, and the 3D effect looks great on my butterflies,,,,,,love it, love it,and what a sweet quote,,,, woww,woww,,,,,,,
Hi Ginny, thanks for the super easy, but oh so pretty tutorial! Hope all is well and you are feeling 100% again,
QUESTION: are you printing on a laser or an ink jet? I would think the Modge Podge would make the ink smear if an ink jet printer is used???? Would love to give this a try, but have an ink jet printer. The butterflies are Gorgeous Ginny!
Jan
ah Ginny what a great tutorial thank you so very much for sharing this... love this idea!! Shaz in oz.x
How beautiful!!! Love this dimensional idea- and what a fab effect!
Post a Comment