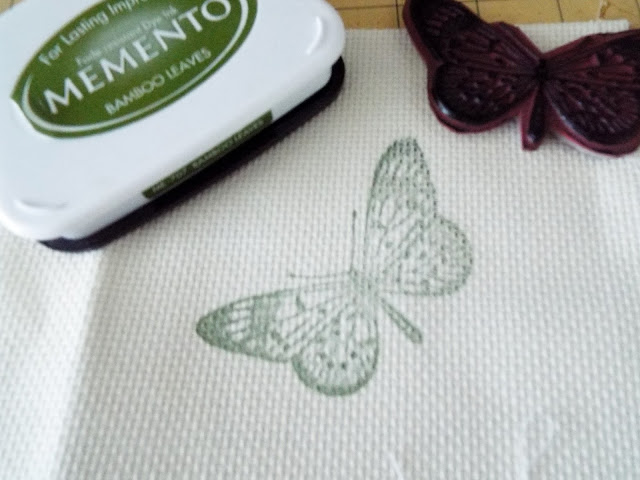
Stamped my image: Note, the Adia cloth really wasn't the best fabric for this.
I hooped it - the fabric was too small, the tension was not tight enough. I made it work
Here it is all stitched out. This needed to be predominantly yellow
I couched the gold thread down to the edge.
I cut the butterfly from the fabric and added a layer of PVC glue to the back. This sealed the thread and created a handmade "patch"
On my block section, I stitched down this pretty yellow lace and added beads, placed the butterfly and created a gold "flight" pattern out of gold cord and also used that in a seam treatment.
The rest of the embroidery
This is such a pleasant skill and hobby. In our screaming hi-tech world, this is a pleasant and low-cost hobby.
Thanks for stopping by and Have a great day!!
Ginny M


6 comments:
Came out Beautiful :)
Came out Beautiful :)
These are beautiful.
Fabulous butterfly Ginny - I do love what you are doing on this crazy patchwork, and placing the butterfly against the (beaded) lace is fabulous.
Blessings
Maxine
Hi Ginny! I hope all is well! I have been so impressed with your embroidery work as of late. These are all beautiful. Hope you are doing well. Miss you lots, Crystal
Such marvellous creativity!!
Something to aspire to👌👏.
Post a Comment